It has been debated on the Internet - to the point of using rather heated language - the matter of the the common failure of the Samurai's starter system. For many years, the "Clicky Starter Fix" (CSF) was touted by Zukers and vendor alike as the ultimate fix for this problem.
Recently, Zukers have challenged the Clicky Starter Fix's actual usefulness in solving the starter circuit's inability to reliablity to energise the starter. These Zukers have suggested that the most effective solution is to disassemble and clean the electrical switch mechanism in the Ignition switch. The Clicky Starter crowd points out the difficulty in accessing and removing the switch mechanism due to steering column disassembly and removing anti-tamper bolts. The CSF crowd also points out that there is little detailed information actually available for Zukers for a successful switch cleaning project.
Then comes David Bedient jr. with a simple-to-follow illustrated set of instructions on how to clean the starter switch inside the column switch without actually removing the complete switch assembly!
The cleaning process described below bypasses the removal of the entire switch mechanism by simply removing the back of the switch assemby, accessing and cleaning the switch, then reasembling and reinstalling the switch.
The results of this cleaning will improve the current-carrying abilities of the switch to the point of probably eliminating the the need for the installation of the relay-based "Clicky Starter Fix".
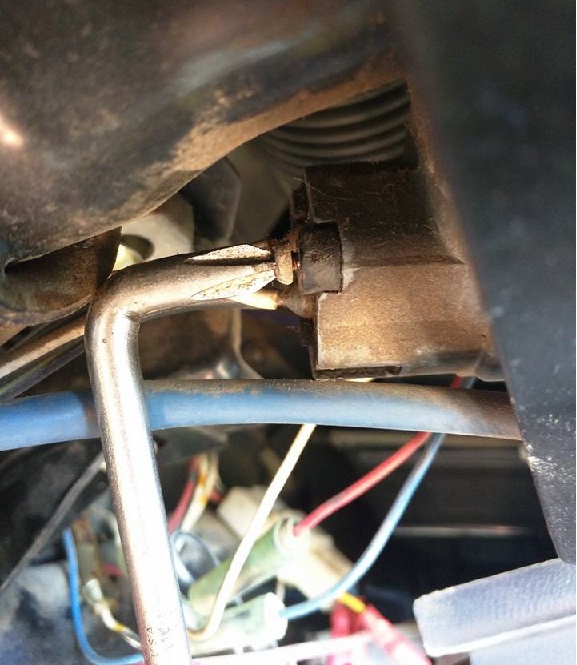
Take off the lower dash cover and remove the one screw on the back of the ignition switch. You'll need a 90 degree Philips screwdriver - or something similar - to remove it.
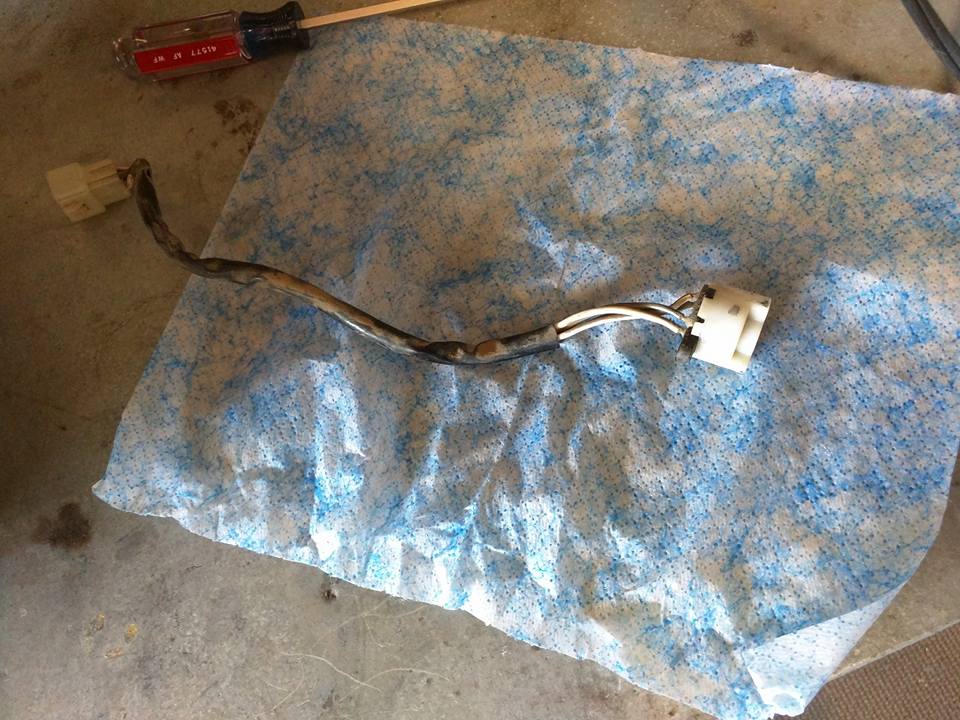
Once you remove the screw, pull it out of the housing and unplug the other end from the wiring harness so you can take it out to work on your bench.
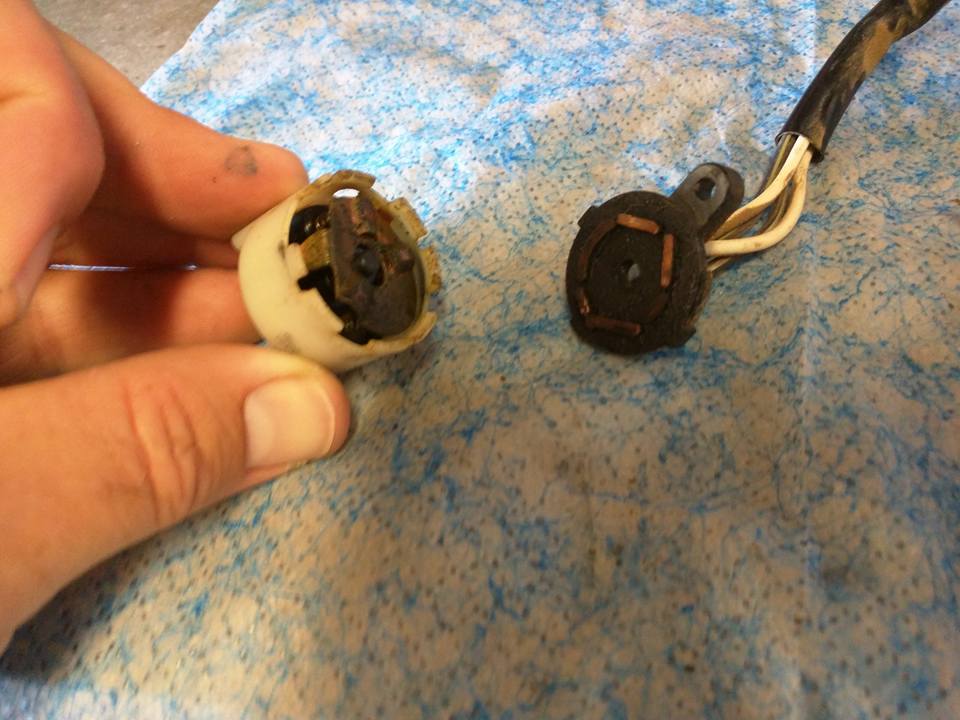
Using a small flat head driver to separate the contact housing. The clips are all the way around the base so work slowly to make sure you don't break any off.
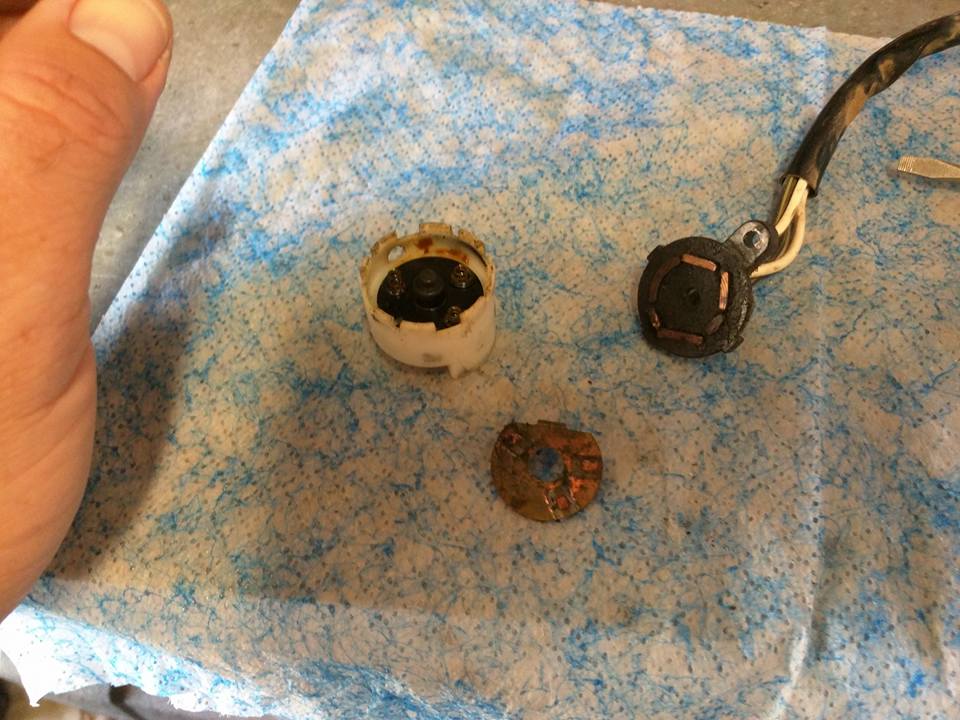
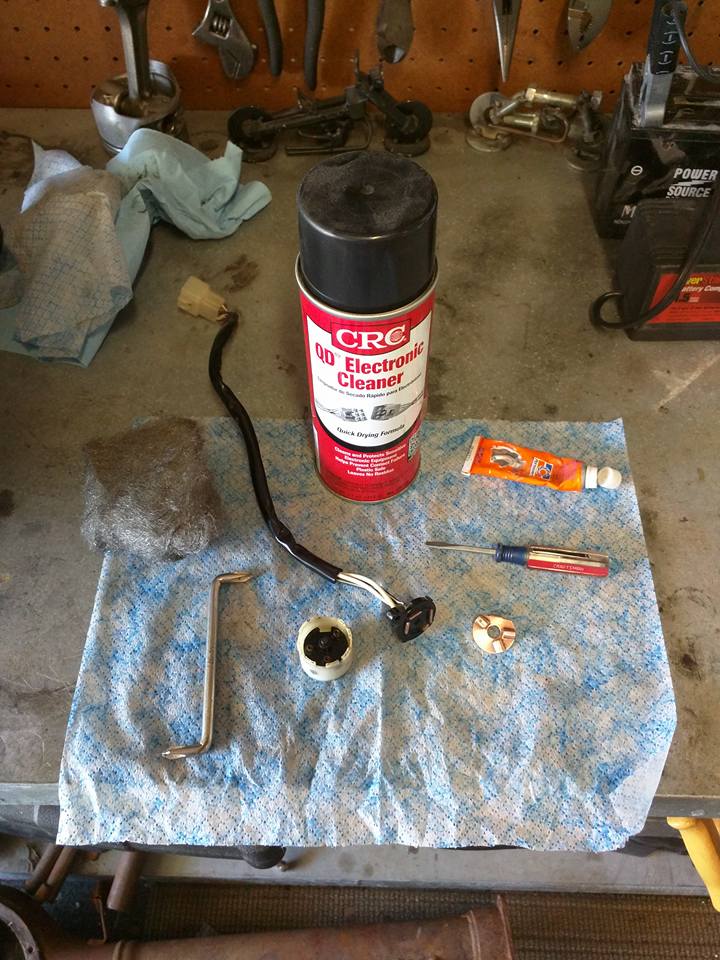
Once apart, the copper contacts are what you'll need to clean. Use steel wool and remove all oxidation/corrosion/etc.
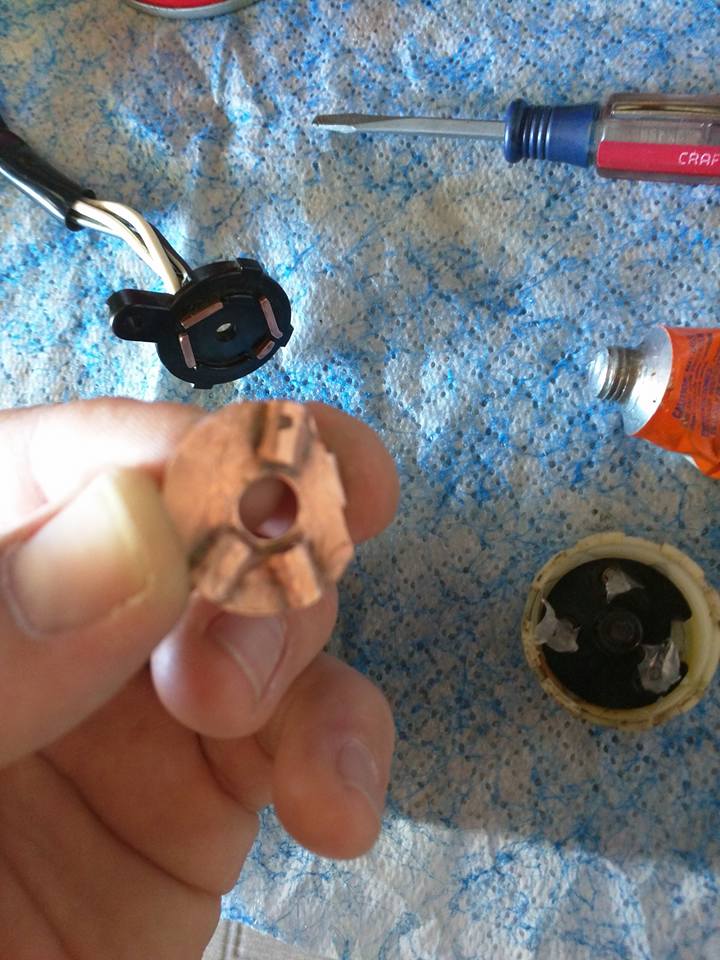
Apply liberal amount of dielectric grease to both sides of the copper switch mechanism and all contact points. Carefully reassemble the switch making sure you do not break off the tabs that fit around the white part of the switch assembly then reinstall the switch mechanism on the back of the ignition barrel. Plug in the connectors and replace the bottom cover on the steering column.